Electronics
###Raspberry Pi
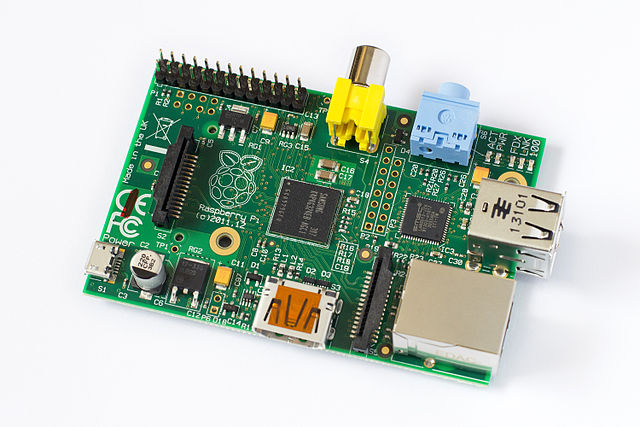
 Raspberry Pis are an entire PC on a small board. Each Pi has USB ports, an ethernet port, HDMI out, a standard audio jack, composite video out, and is powered by a micro usb connector (recommended 5v 700ma for Revision B Pis). We have a total of 16 nodes.
###DLink Switch

To network our cluster, we opted for a D-Link DSS-16+ Fast Ethernet switch which supports the Pi’s ethernet interface of 10/100.
SD Cards
We used 16 8GB SD cards from various manufacturers. In order to ensure the best throughput with these cards, we made sure that they were class 10.
Case and Mounting
 We mounted our Pis on shelves made out of single ply 1/4” sheets of acrylic. Each Pi was mounted using 2.5M screws attached to the PCB and stood off from the acrylic with nylon spacers. The shelves are also spaced using nylon spacers and 1/4” threaded rods.
Cabling and Power
 Our cluters in networked with 10/100 Ethernet using Cat5e cables. Each Pi is powered via micro USB and is on a USB power hub that provides 5v, 500mA per channel. We connected our headnode to a display using HDMI and interfaced with the headnode using a USB keyboard.
We also mounted fans on either end of the cluster for cooling. Though, to be honest, the ARM chips don’t draw a lot of power, so they don’t generate a lot of heat. So maybe, just maybe, the fans are there because the LEDs are sweet…

